

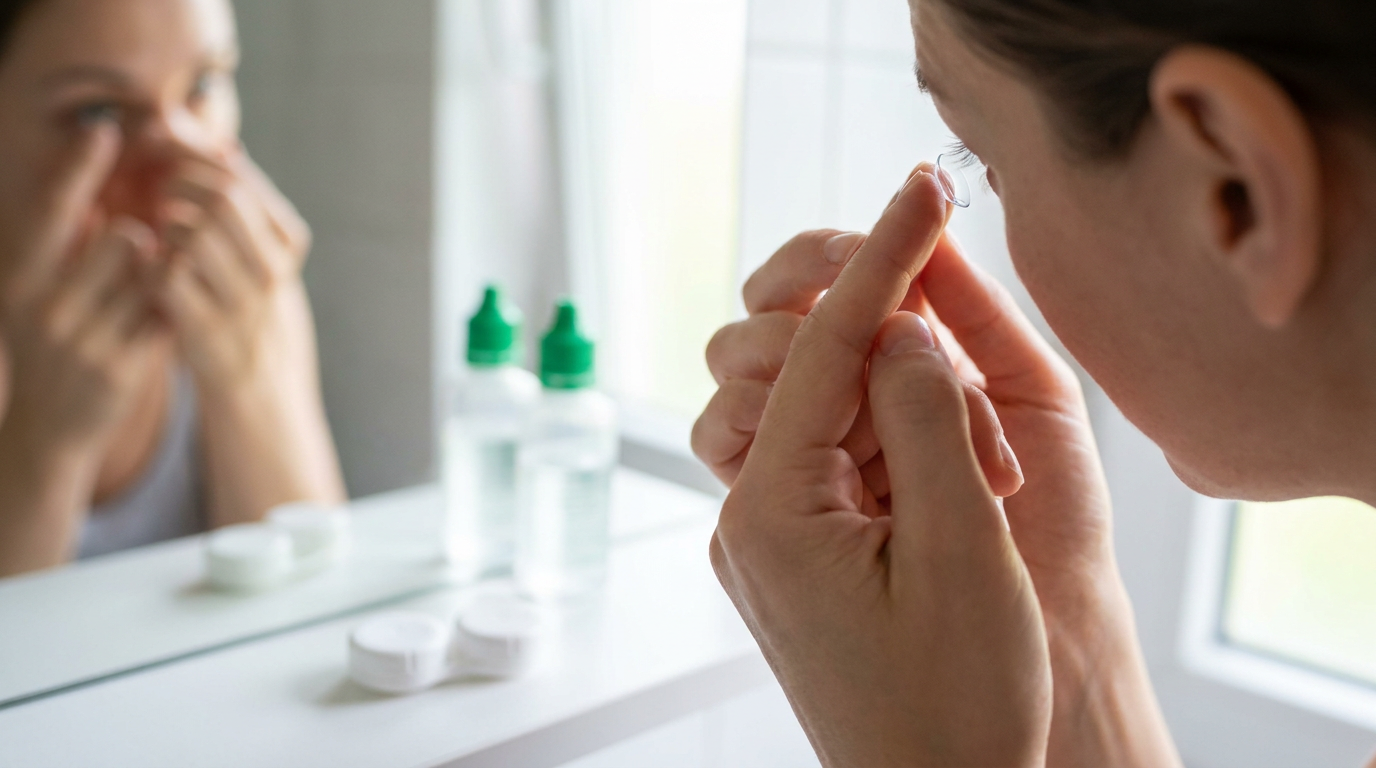
Learning to take out hard contact lenses can feel challenging at first, especially at the time your lens seems stuck to your eyeball or has moved off center. Gas permeable lenses sit on a thin layer of tears and can resist removal. A contact lens cannot go behind your eye, and with the right technique, removal becomes straightforward. This piece covers methods that work to remove hard contact lenses, including the blink method and troubleshooting stuck lenses. We also explain what to do at the time you need to remove RGP contact lenses without a plunger.
Preparing to Remove Hard Contact Lenses
Wash and dry your hands really well
Proper hand hygiene stands as your first defense against eye infections when you handle gas permeable contact lenses. The statistics reveal a concerning disconnect between knowledge and practice. While 88% of contact lens wearers understand that bacteria on fingers transfers to eyes during lens handling, 41% still skip hand washing before insertion or removal. This oversight carries real consequences: 1 in 3 contact lens wearers experience complications that require further care, and 1 in 5 cases of contact lens-related infections result in corneal damage.
Wash your hands with mild soap and warm water for at least 20 seconds before you attempt to remove hard contact lenses. Scrub between your fingers and under your nails, then rinse away all soap. The type of soap matters. Choose unscented options without moisturizers or lanolin, as these substances leave a film on your hands that transfers to your lenses and can cause eye irritation.
How you dry your hands is just as crucial. Pat your hands dry with a clean, lint-free towel rather than rubbing to prevent fabric particles from sticking to your fingers. Avoid paper towels that shed fibers. If you use hand sanitizer because soap isn't available, wait several minutes for the alcohol to evaporate before you touch your lenses. Wet or damp hands make lens removal difficult and increase contamination risk, as microbes that cause eye infections often live in water.
Set up your workspace
Good lighting and proper positioning make removing RGP contact lenses substantially easier. Stand or sit near a mirror in a well-lit area where you have both overhead and side lighting if possible. The extra visibility helps you see where your lens sits on your eye and makes the removal process quicker.
Close the sink drain or place a clean towel over it to catch your lens if it falls before you begin. A light-colored towel works best because it makes spotting a dropped lens simple. Work over a clean, flat surface and keep this towel beneath your work area as an additional safety measure.
Always remove the same contact lens first to avoid confusion between your right and left lenses. This consistent routine prevents you from mixing up your lenses during cleaning and storage.
Check your supplies
Prepare your storage supplies before you start removing your lenses. Empty any old solution from your case and rinse it with fresh multipurpose or disinfecting solution. Never use tap water to rinse your case, as it contains organisms that can cause serious eye infections. Fill each well of the case with enough fresh solution to cover your lens.
Keep these items within easy reach:
- Lens case with fresh gas permeable contact lenses solution
- Rewetting drops (if needed for dry lenses)
- Rigid suction cup lens remover (small size, optional)
- Clean, lint-free towel
- Mirror with good lighting
Label the right and left wells of your case to keep your lenses separate. Replace your lens case every one to three months to prevent bacterial buildup. Keep your nails trimmed and smooth to avoid scratching your eye or damaging your lenses during removal. Getting everything ready before you touch your eyes streamlines the process and reduces the time your hands spend near your face.
How to Remove RGP Contact Lenses: Three Simple Methods
The blink method
The blink method is the most common technique for removing RGP contact lenses. You should position yourself in front of your mirror and look straight ahead. Your eyes need to be as wide as possible to prevent your eyelashes from interfering with the process. Your middle finger should be at the outer corner of your eye where your upper and lower lids meet. The skin needs to be pulled toward your ear, which tightens your eyelids against the edge of the lens.
You should blink hard while you maintain the outward pull on your eyelid. The tension from your tightened lids catches the rim of the lens and pops it off the tear film. Your other hand should be cupped below your eye to catch the lens as it drops out. The lens may come out quickly, so you need to stay alert. The first attempt may not work, so you should relax, blink several times to re-center your eye and try again.
This technique works because your eyelid edges are firm enough to grip the rim of the gas permeable lens when your skin is pulled taut. Most patients become comfortable with this method within the first week, though the timing takes a few tries to get right.
The two-finger (eyelid pressure) method
This alternative approach, also called the shovel method, uses coordinated eyelid movements to release your lens. The edge of your upper lid should be just above the contact lens and the edge of your lower lid just below it. You should look straight ahead into your mirror and tuck both eyelids under the edges of the lens at the same time.
You need to push gently inward to remove the lens. The coordinated pressure from both lids forces them underneath the contact lens edges and causes it to pop out. The lens should rest on the tip of your lower finger or on your lower lashes. The first attempt may not work, so you should relax, blink several times, reposition your fingers and try again.
The suction cup method
A small suction tool offers reliable removal, especially for beginners or anyone with dexterity challenges. The tip of the suction cup needs to be wet with conditioning solution or saline before use. You should look straight ahead and keep both eyes open while you position the tool. The suction cup should be pressed onto the center of the lens and avoid contact with your eyeball.
You can gently pull the lens away from your eye once the suction cup adheres to it. The lens should be removed from the suction cup by sliding it sideways off the tool rather than pulling straight off, which can damage the lens. The suction cup needs to be cleaned with a sterile alcohol swab after each use.
Which removal method is right for you
Your eye doctor will demonstrate both manual and tool-based methods to help you decide which feels most natural. The blink method appeals to patients who prefer not using tools and want a quick, equipment-free option. The two-finger method provides more control for those who struggle with the timing of the blink technique.
The suction cup method suits beginners because it gives you more control and predictability. Patients with dexterity challenges or those who find the blink method difficult at first often prefer this approach. There's no wrong choice. The best method is the one you can perform confidently and every time with consistency.
What to Do When Your Contact Lens Stuck to Eyeball
A hard contact lens stuck to your eyeball typically happens because the lens has dried out and adheres to your cornea for a time. This occurs if you fall asleep wearing your lenses or experience dry eyes. Safe removal of the lens protects your vision and eye health.
Add rewetting drops and wait
Contact lens rewetting drops or sterile saline solution will rehydrate the stuck lens. A steady stream over your contact lens and eye for a few seconds works best. Plain water isn't sterile and can introduce bacteria, so avoid it. Your regular contact solution shouldn't be used as an eye wash.
One to two minutes after you apply drops lets them work. The extra moisture helps soften and loosen the dried lens. Blink several times after rinsing. This distributes the moisture evenly under and around the lens. Blinking also moisturizes the contact lens with your natural tear production.
Repeat the rinsing step several times if the lens remains stuck. Blink frequently after each rinse to help dislodge the lens. Several rinses may be needed for the lens to become rehydrated and movable. Patience matters here. A stuck contact lens sometimes takes 10 to 15 minutes to dislodge.
Gently massage through closed eyelid
Close your eye and massage your upper eyelid until you feel the lens move. One finger on your upper eyelid and another on your lower eyelid lets you massage in small circles over your closed eye. This motion breaks the suction and encourages the lens to shift into a more available position.
The massage should be brief. Stop right away if pain increases or your vision worsens. The pressure and movement work best after you have already added lubricating drops to reduce friction.
Move the lens back to center
You can remove the lens normally once it loosens and moves. Look in the opposite direction of where it's stuck if your contact lens is stuck under an eyelid or has moved off-center to the corner of your eye. To cite an instance, look down if the contact lens is stuck under your upper eyelid. Look to the right if it's stuck to the left side of your eye.
The pad of your finger can slide the loosened lens onto the white of your eye. Then pinch the lens with your index finger and thumb to lift it away from your eye.
When contacts stuck to eyeball won't budge
Stop your removal attempts after 15 to 20 minutes without success and rest your eye. You can try again after waiting an hour and applying fresh lubricating drops if your eye feels comfortable. Repeated attempts can irritate the delicate surface of your cornea and make the problem worse.
Seek care right away if you experience:
- Severe eye pain or vision loss
- Sharp pain during removal attempts
- Redness or swelling
- Eye discharge or light sensitivity
- Decreased vision after attempting removal
Contact your eye doctor if the lens remains stuck after a few careful attempts. They can remove the lens safely and assess any irritation or damage.
Step-by-Step: How to Remove Hard Contact Lenses Without Plunger
Position yourself at the mirror
Lower yourself over a flat surface such as your bathroom counter or dresser top. This positioning prevents your lens from falling to the floor where it can get lost or damaged. Stand or sit close enough to see your eyes in the mirror and maintain the bent posture. Look straight ahead so you can watch the whole removal process.
A clean towel beneath your work area will catch the lens if it drops. Cover the sink drain with this towel if you're working over the basin. A light-colored towel makes spotting your transparent lens easier.
Pull your eyelid taut at the outer corner
Your middle finger goes at the outer corner of your eye where your upper and lower lids meet. Press against this junction point. Pull the skin on your eyelid's outer corner toward your ear with steady pressure. This motion tightens both eyelids against the rim of your contact lens.
Keep your eyes wide open during this step. The wider you open your eye, the better your eyelid edges can grip the lens rim. Maintain the outward pull throughout the blinking motion.
Blink firmly to release the lens
Blink hard while holding the taut pull on your outer eyelid[202]. The combination of the stretched eyelids and the forceful blink catches the edge of your lens and pops it away from your eye. The lens may come out quickly, so stay prepared.
Relax your eye if the lens doesn't pop out on the first attempt. Blink several times to reposition everything, then try again. Multiple attempts are normal when learning this technique.
Catch and inspect your lens
Your opposite hand should be cupped below your eye before you blink to catch the falling lens. The lens will drop onto your cheek, into your hand, or onto the flat surface below. Check that your lens is clean and undamaged before storing it in fresh solution.
After Removal: Cleaning and Storage
Clean your lens right away
Contamination builds on your lenses throughout the day. You must clean them right after removal. Place the lens in your palm and apply two or three drops of cleaning solution. Rub the lens gently but firmly with your little finger for about thirty seconds. This rubbing loosens deposits and removes microbes from the lens surface.
Rinse the lens with saline solution once you finish rubbing. Rub it between your thumb and forefinger to eliminate any loosened debris and remaining cleaning solution. You compromise the effectiveness of disinfection if you skip this step.
Store in fresh solution
Fill your storage case with conditioning solution (Boston or Total Care) and place the lens into the correct side. You must change this solution daily. Never reuse or top off old solution. It loses disinfectant power and promotes bacterial growth.
Clean your lens case
Discard the old solution from your case once your lenses are in. Rinse it with fresh multipurpose solution and leave it open to air dry. Scrub your case with a dedicated clean toothbrush using saline every week, then air dry.
Replace equipment often
Replace your contact lens case every one to three months. Cases become contaminated over time and increase infection risk despite proper cleaning.
Conclusion
Removing hard contact lenses might feel awkward during your first few attempts, but you'll become skilled at the technique with practice. Choose the removal method that feels most comfortable for you, whether that's the blink method, two-finger approach, or suction cup tool. Each technique works equally well once you develop confidence.
Most patients become comfortable with their chosen method within a week. Note that you should always wash your hands really well and keep your lenses clean. Never force removal if your lens feels stuck. If you experience difficulty or eye discomfort, contact your eye doctor to get guidance. With proper technique and hygiene, lens removal becomes a simple part of your daily routine.